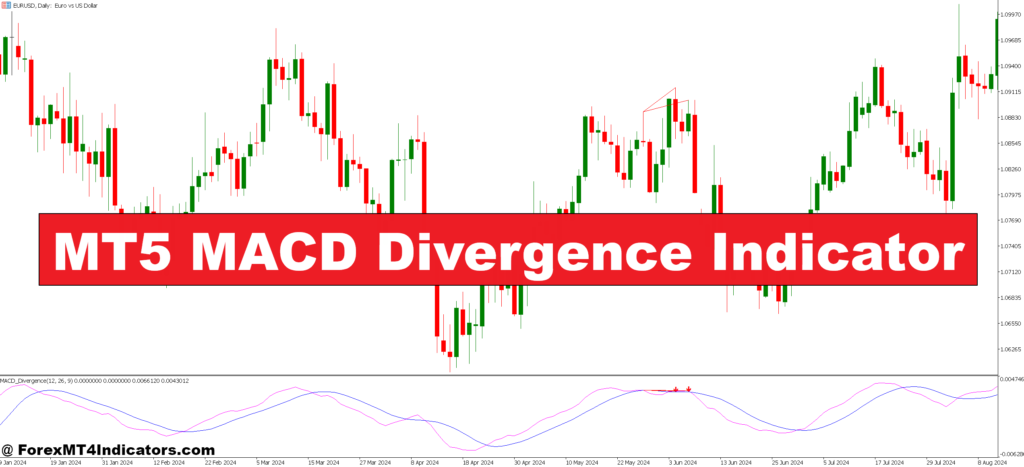
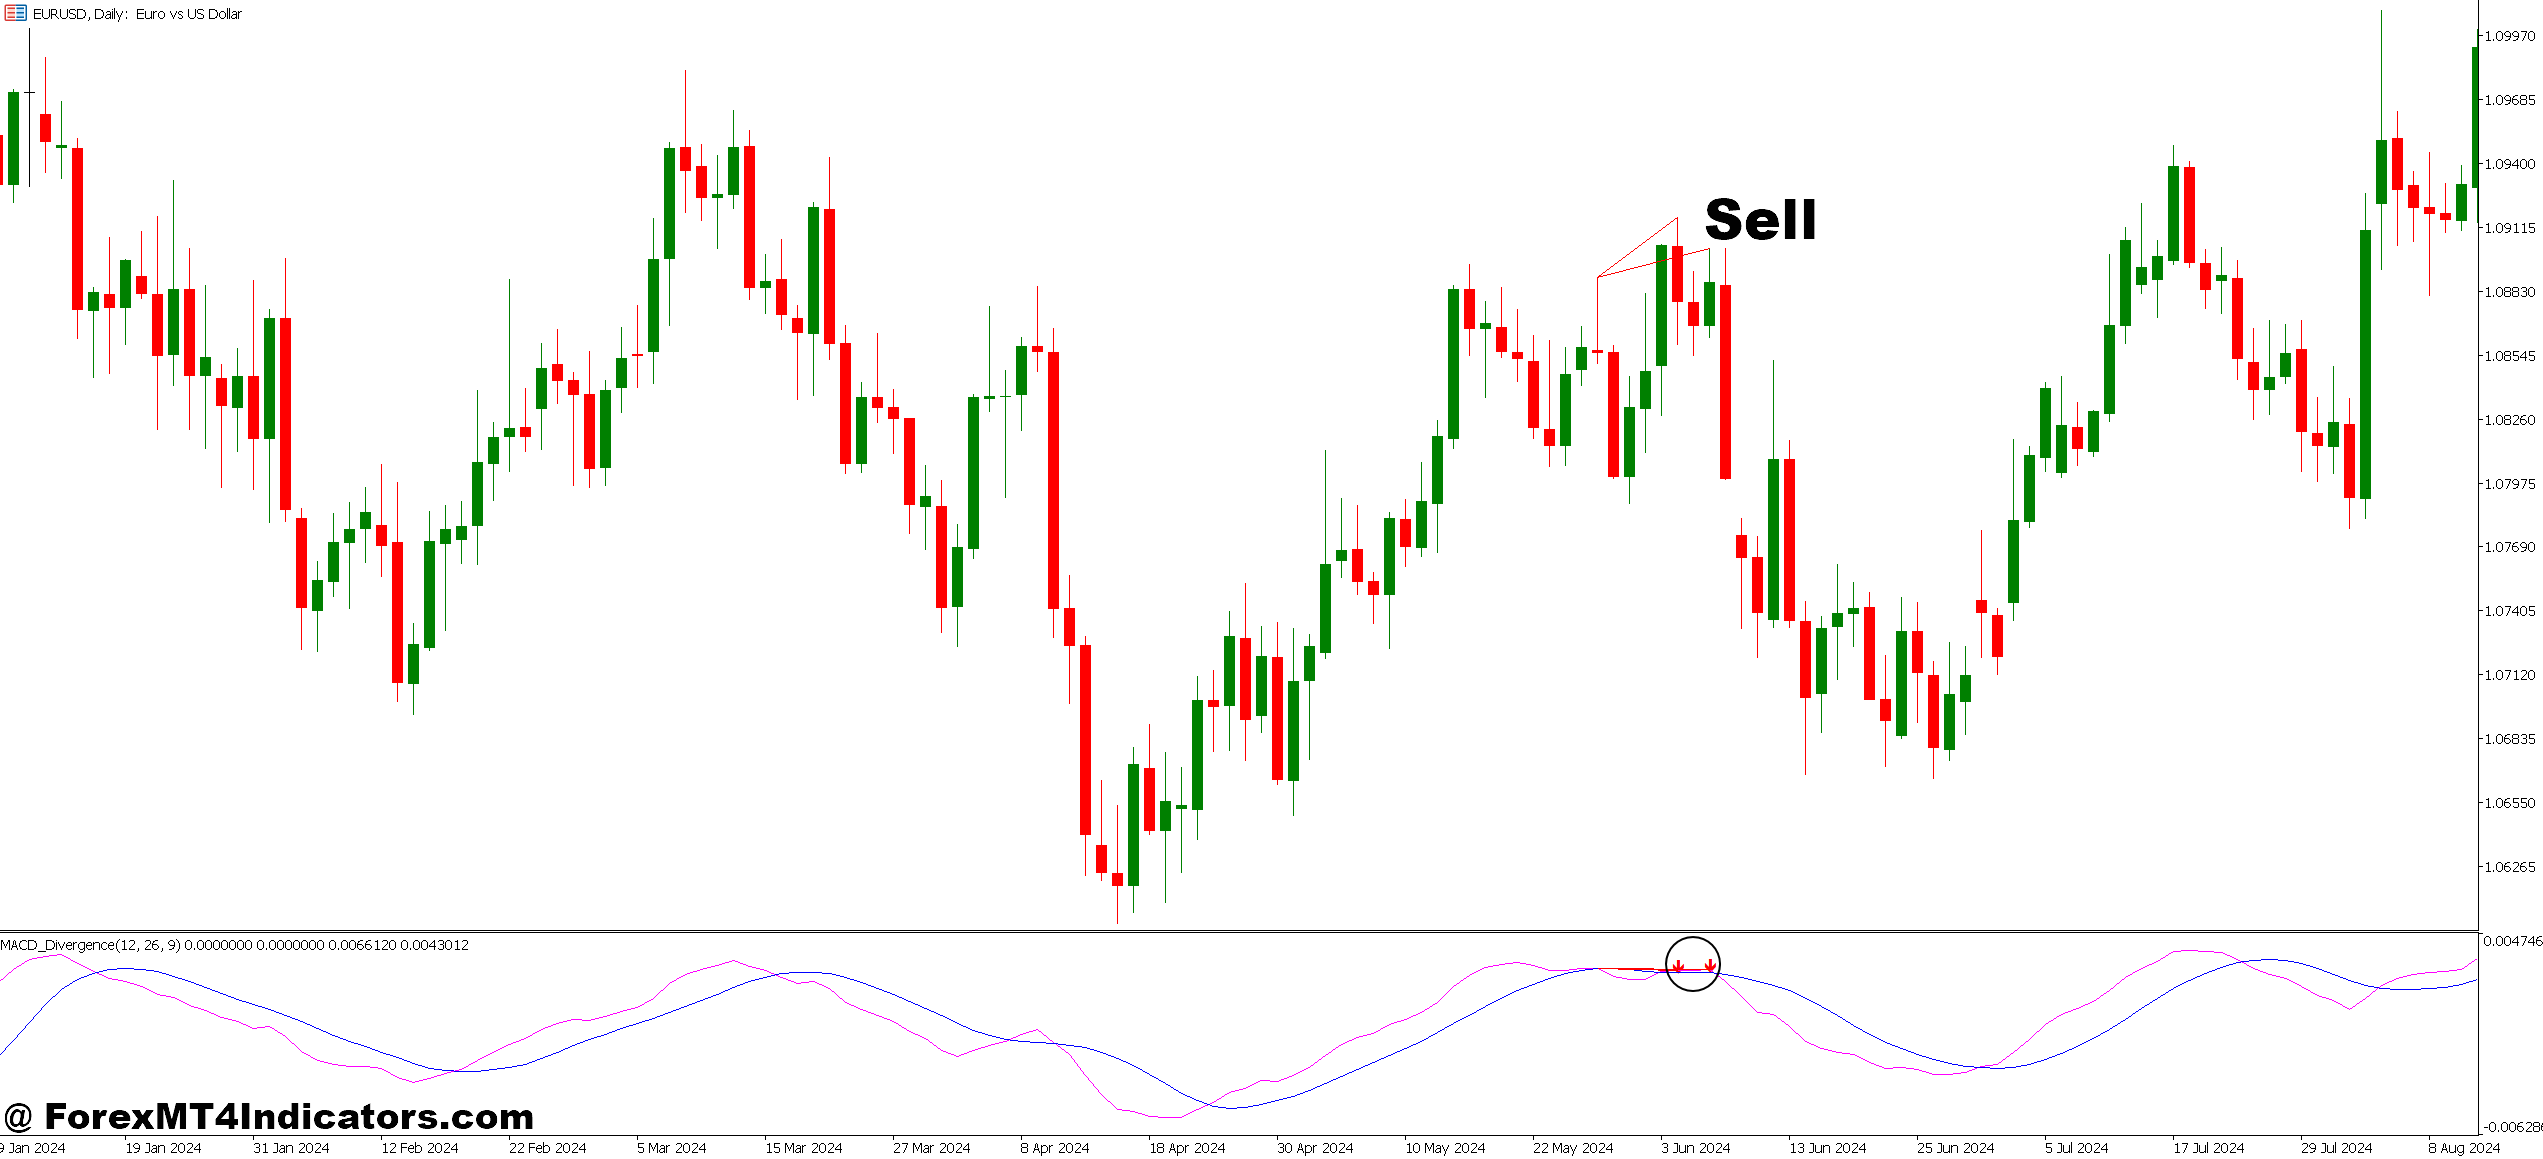
MACD divergence occurs when price action and the MACD histogram move in opposite directions. Regular bearish divergence happens when price makes higher highs but the MACD makes lower highs—momentum is weakening even as price climbs. Regular bullish divergence is the mirror image: price makes lower lows while MACD forms higher lows.
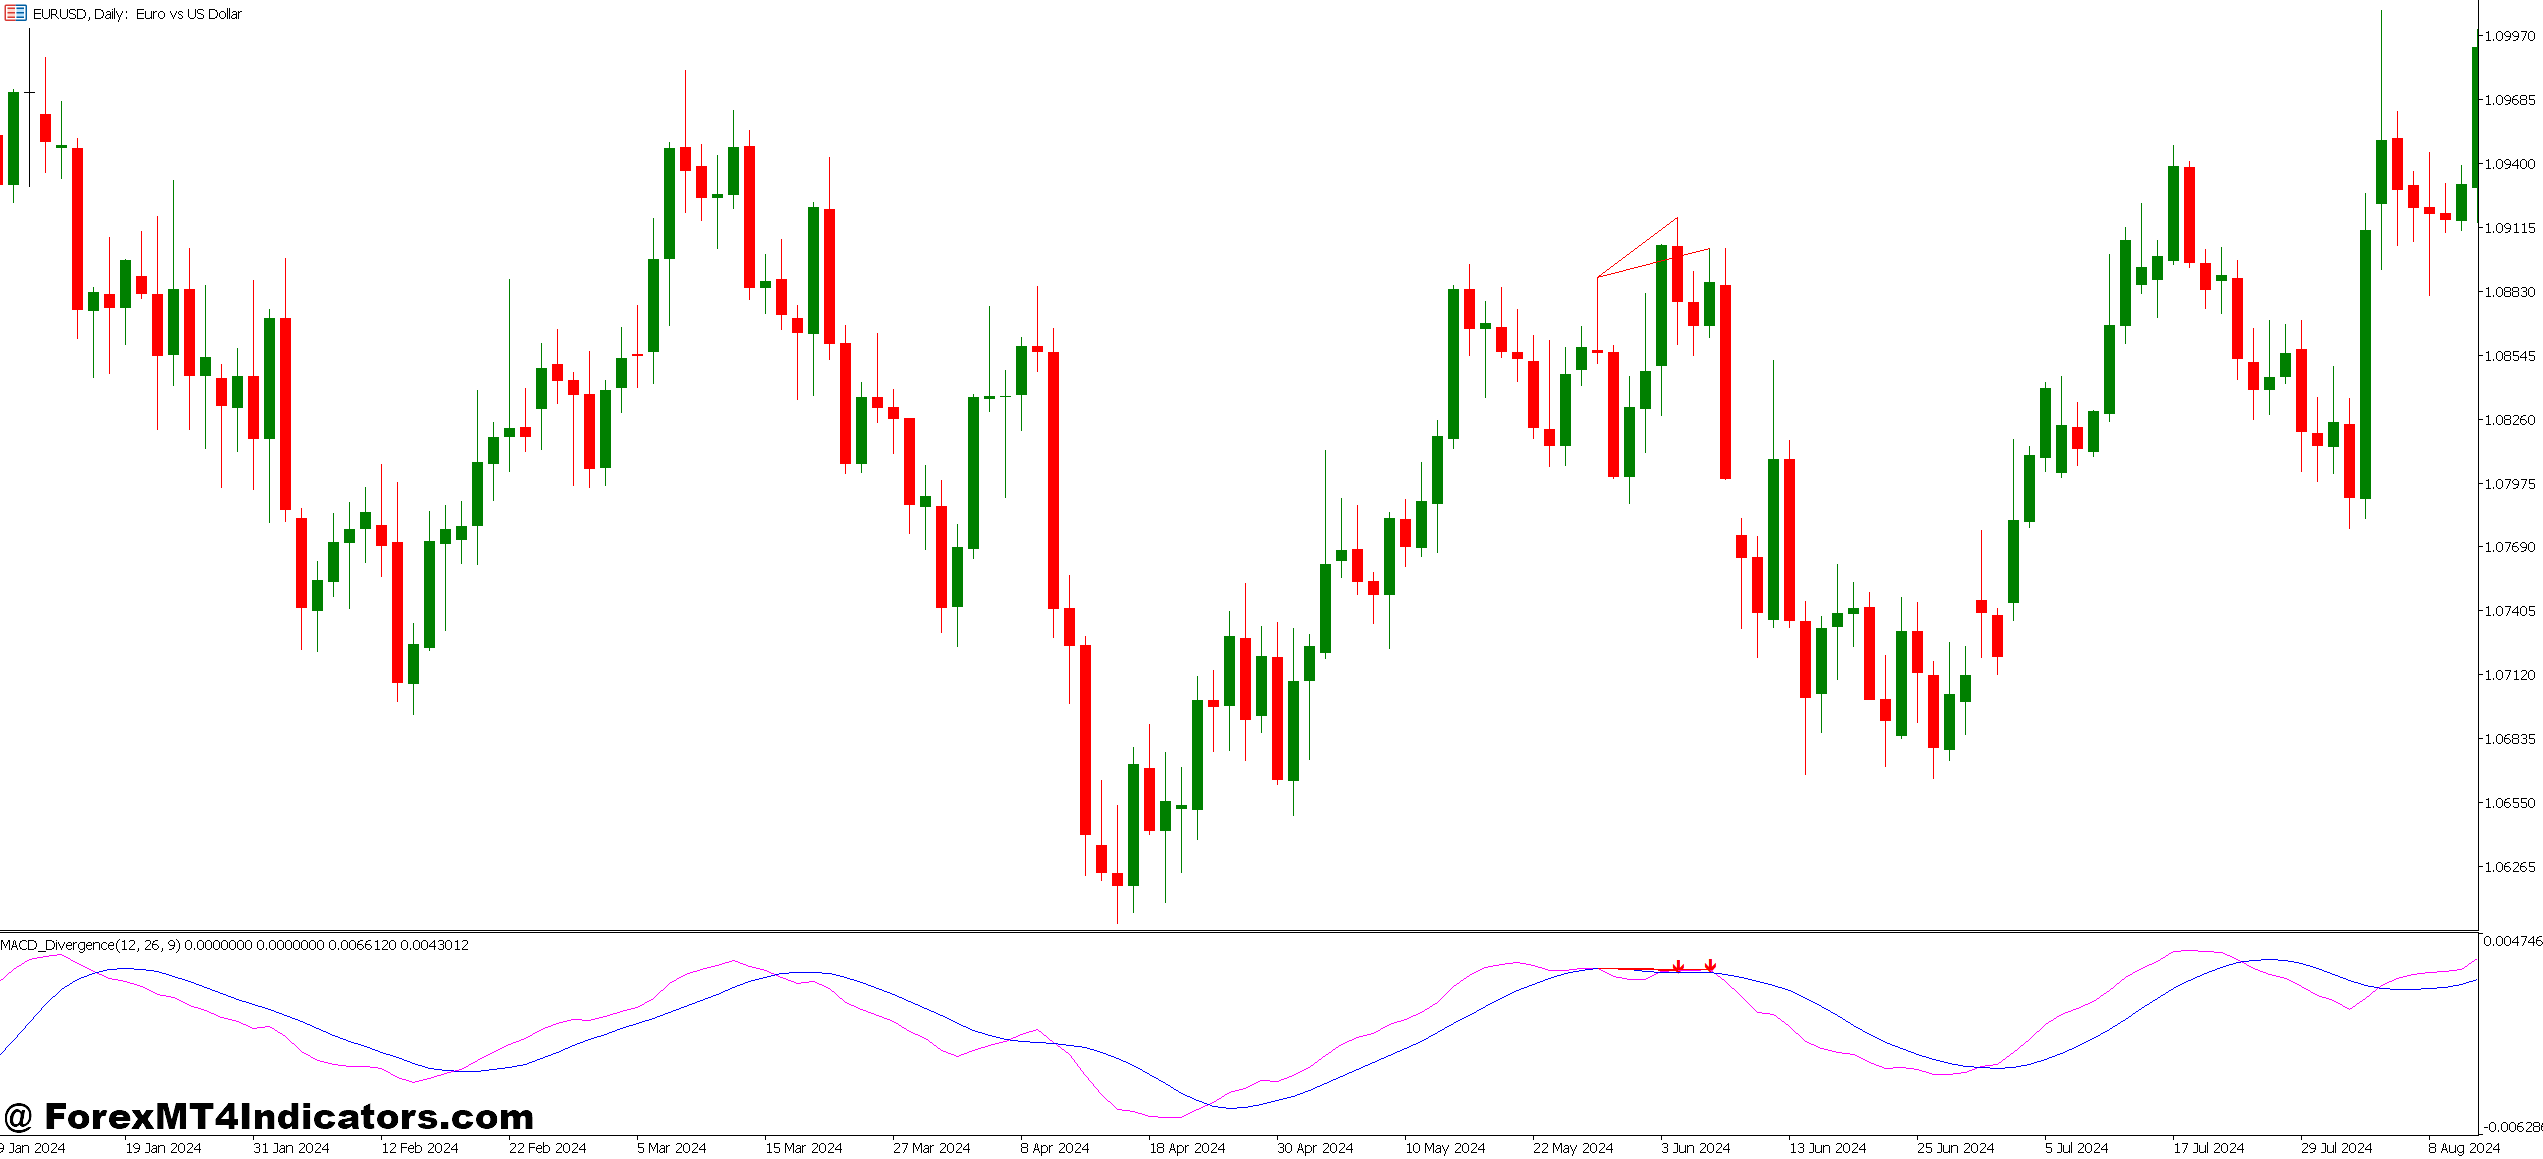
The MT5 version automates the detection process. Instead of squinting at charts looking for these patterns manually, the indicator scans price swings and MACD peaks, then draws connecting lines when it finds a mismatch. It typically marks these with trendlines or arrows directly on your chart.
What separates this from the standard MACD? Automation and visual clarity. The basic MACD histogram shows momentum shifts, sure. But you need to identify the divergence patterns yourself—comparing swing points on both price and indicator. The divergence indicator does that heavy lifting, which matters when you’re watching multiple pairs or trading on faster timeframes where opportunities vanish quickly.
How It Functions on MT5
The indicator runs the traditional MACD calculation first: subtracting the 26-period EMA from the 12-period EMA, then plotting a 9-period signal line. That’s standard. The divergence detection layer compares recent price pivots against corresponding MACD pivots using a swing detection algorithm.
When price forms what the algorithm identifies as a swing high (peak), it checks the MACD value at that same bar. Then it compares this to the previous swing high. If price went higher but MACD went lower, the indicator flags bearish divergence. Same logic applies to swing lows for bullish setups.
Most MT5 versions let you adjust the swing detection sensitivity. A setting of 5, for instance, means the indicator looks for pivots where the high or low isn’t exceeded for 5 bars on either side. Lower numbers catch more divergences but generate more false signals. Higher numbers wait for clearer swings but might lag.
The visual output usually includes colored lines connecting the divergent points—green for bullish, red for bearish. Some versions add alerts that pop up or send notifications to your phone. That feature alone saves hours of chart-watching, especially if you’re scanning 10+ pairs.
Trading With Divergence Signals
Here’s where theory meets reality. On EUR/USD’s 4-hour chart last month, price pushed from 1.0850 to 1.0920 over two days. Clean uptrend, right? But MACD peaked at the first high around 1.0880 and formed a lower peak at 1.0920. The indicator drew the divergence lines, and within 12 hours, EUR/USD dropped 70 pips.
The setup worked because it appeared at a key resistance level. That’s the crucial context most traders miss—divergence isn’t a standalone signal. It performs best when it confirms what other factors already suggest. Near major support or resistance zones, after extended trends, or when price hits significant Fibonacci retracements.
On the flip side, divergence in the middle of strong trends often fails. GBP/JPY showed bearish divergence three times during a 400-pip rally last quarter. Traders who shorted those signals got steamrolled. The trend was simply too strong, and divergence only indicated brief pauses before continuation.
Timeframe selection matters too. The 1-hour chart generates divergence signals frequently—maybe one every few days per pair. The daily chart might show one or two per month. Day traders lean toward H1 or M30 charts but accept higher false signal rates. Swing traders stick with H4 or daily charts for better quality setups, even if they’re less frequent.
Customizing Settings for Your Style
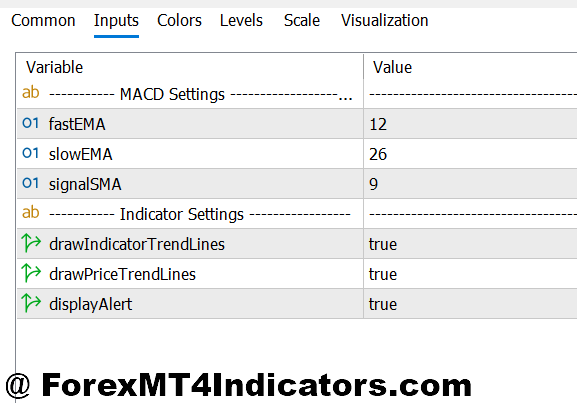
The default MACD parameters (12, 26, 9) work fine for most scenarios, but they’re not set in stone. Shorter settings like 5, 13, 8 react faster, catching divergences earlier. This helps on scalping timeframes but increases whipsaws. Longer settings like 19, 39, 9 smooth out noise on higher timeframes—useful for position traders who want only the strongest signals.
The swing detection parameter needs adjustment based on your timeframe. On M15 charts, a swing setting of 3-4 bars works. On the daily chart, you might use 5-7. Too low and you’ll see divergence on every minor wiggle. Too high and you’ll miss valid setups because the algorithm waits for massive swings that rarely form.
Alert preferences deserve attention too. Some traders want a notification the moment divergence forms. Others prefer waiting for the candle to close, which filters out divergences that appear mid-bar but vanish by close. That single setting change can cut false signals by 30-40%, though you’ll occasionally miss fast-moving setups.
Color and line style options might seem cosmetic, but they matter when you’re reviewing multiple charts. Making bullish divergence bright green and bearish divergence bright red helps your eye catch signals faster. Some traders overlay the divergence lines with their main support and resistance levels to spot confluences instantly.
Real Talk: Strengths and Weaknesses
The indicator excels at early warning detection. It often signals potential reversals 10-20 bars before price confirms with a clear break. For traders who scale into positions, that early heads-up is gold. You can prepare limit orders or tighten stops on existing trades before the crowd catches on.
It also removes the subjectivity of manual divergence spotting. Two traders looking at the same chart might disagree on whether divergence exists. The algorithm applies consistent rules, so what you see on Monday matches what you see on Friday. That consistency helps when backtesting strategies.
But—and this matters—the indicator can’t distinguish between significant and meaningless divergences. A divergence at major resistance carries different weight than one in a random mid-trend consolidation. You still need to evaluate context: where’s the nearest support or resistance? What’s the broader trend? Has this pair been ranging or trending?
False signals spike during choppy, range-bound markets. When price oscillates in a tight range, the indicator might flag divergence every other day, none of which lead anywhere. That’s not the indicator’s fault—divergence simply works better in trending conditions approaching exhaustion, not during sideways action.
When to Trust It (And When to Ignore It)
Experienced traders don’t take every divergence signal. They filter using a checklist. Is price at a significant level? Check. Has the trend been running for at least 50-100 pips already? Check. Is volume declining as price makes new extremes? Bonus confirmation. Do other indicators (RSI, Stochastic) show similar divergence? Even better.
Without these filters, win rates hover around 40-45%. With proper context and confirmation, that jumps to 60-65% on higher timeframes. The difference isn’t the indicator—it’s how you use it.
One more thing: hidden divergence exists too. That’s when price makes a higher low but MACD makes a lower low, signaling trend continuation rather than reversal. Many MT5 versions highlight this separately. It’s useful for adding to winning positions during pullbacks.
How to Trade with MT5 MACD Divergence Indicator
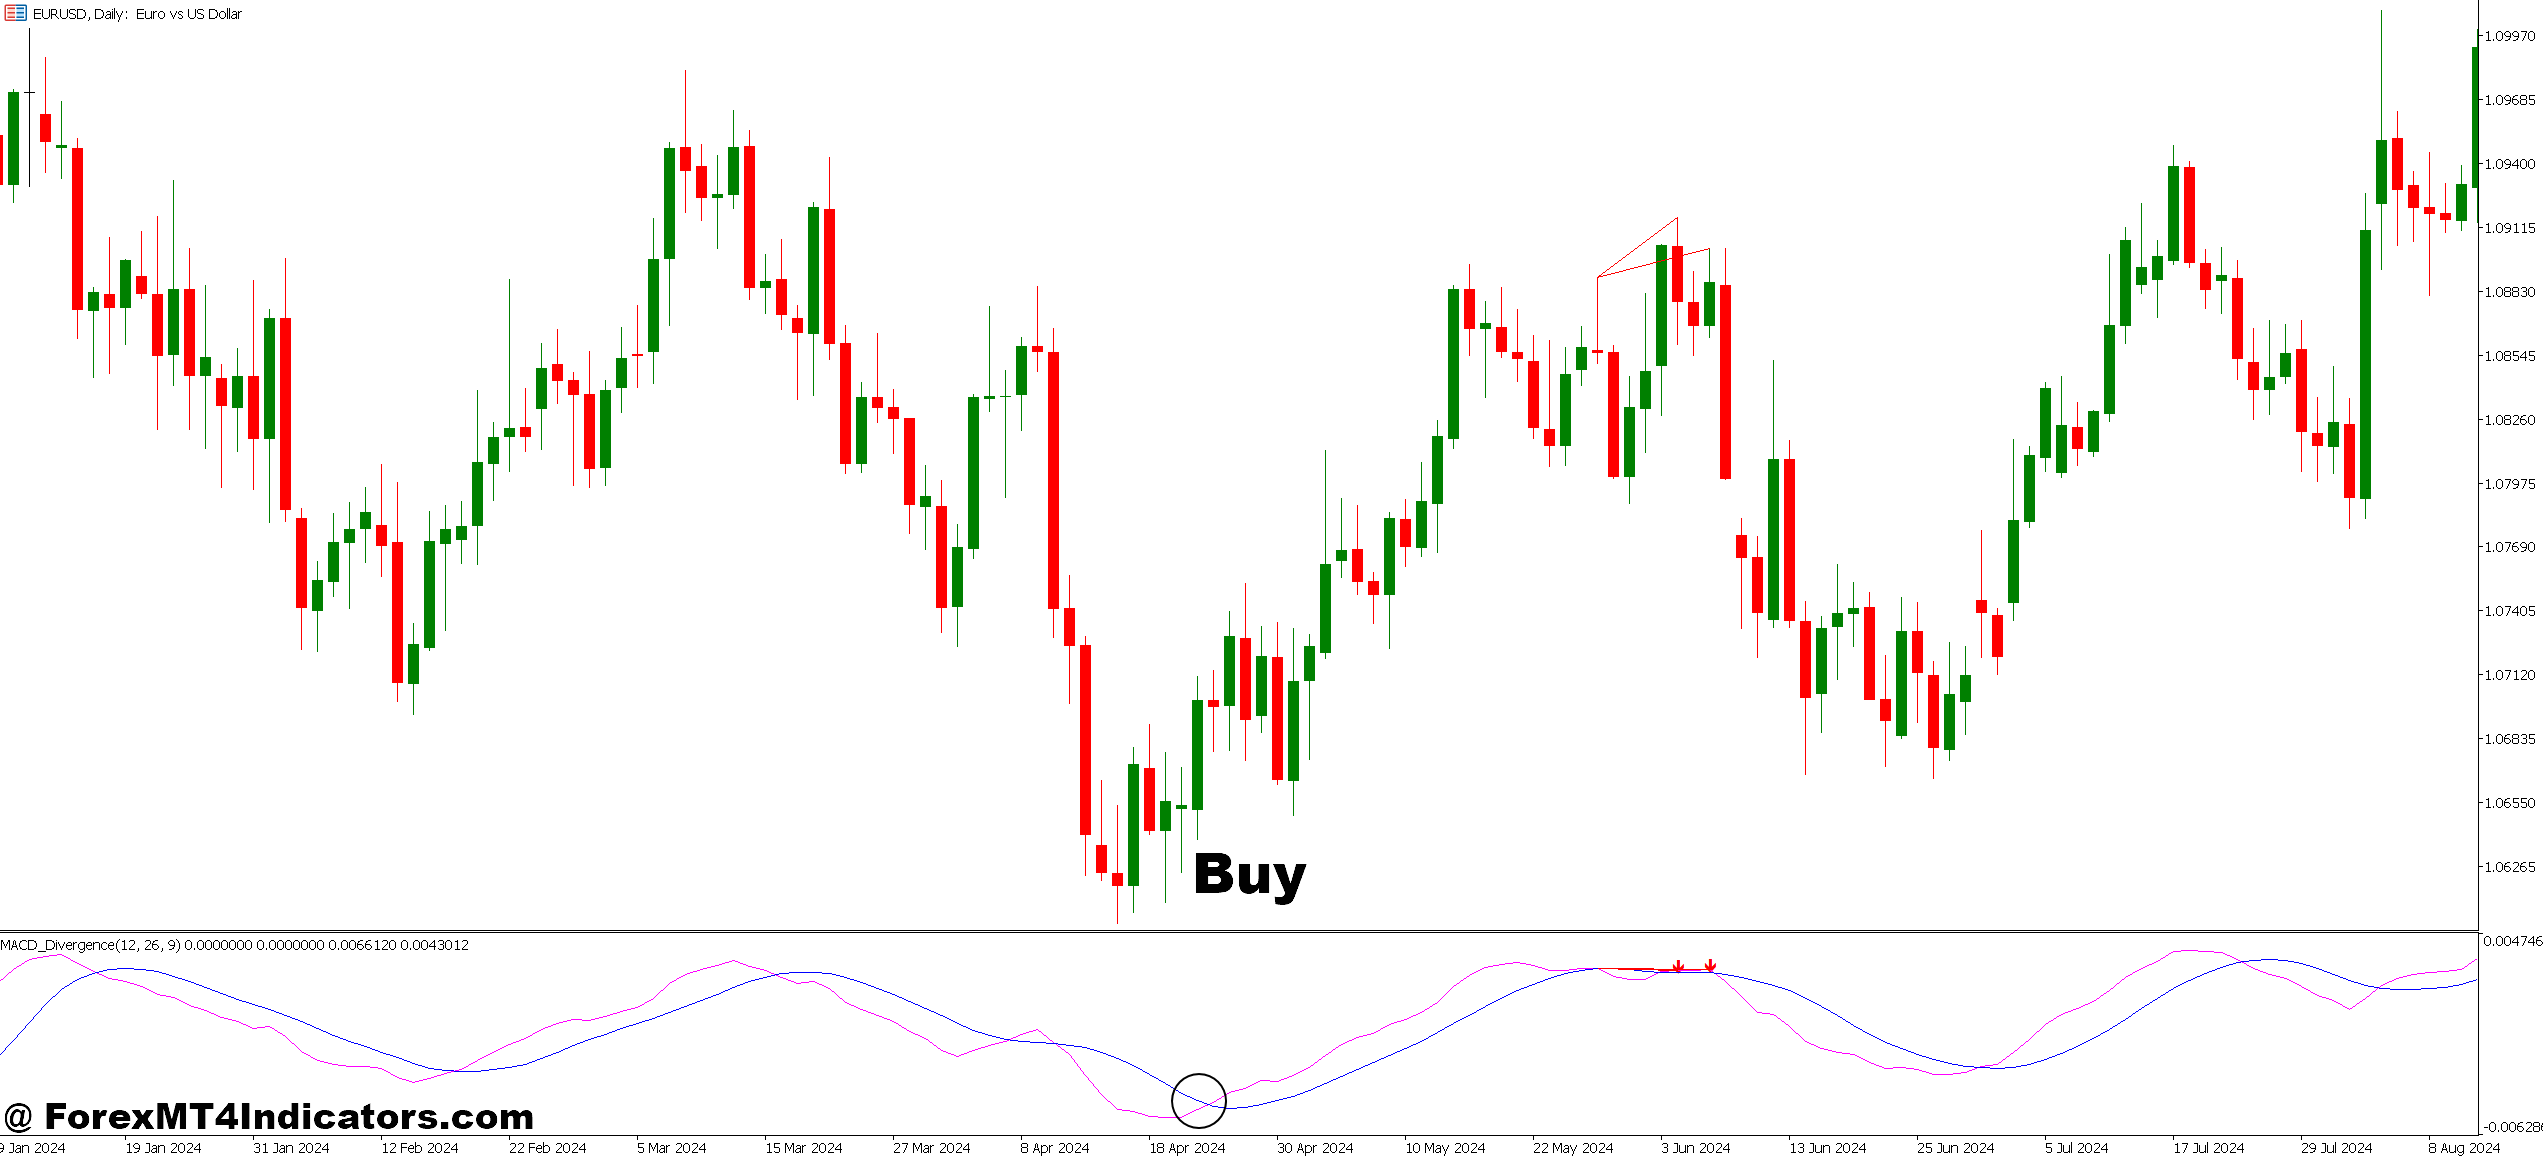
Buy Entry
- Wait for bullish divergence at support – Price makes lower low while MACD makes higher low near major support zone; enter when next candle closes above the divergence low on EUR/USD 4-hour chart.
- Confirm with 20-pip bounce – Don’t enter immediately at divergence; wait for price to bounce at least 20 pips from the low to confirm buyers are stepping in on GBP/USD.
- Set stop-loss 10-15 pips below swing low – Place your stop just beneath the divergence low point; this keeps risk tight while allowing for normal price fluctuation on 1-hour timeframes.
- Target the previous swing high – Aim for 40-70 pips by targeting where price failed before; adjust based on pair volatility and daily ATR.
- Skip divergence during strong downtrends – If EUR/USD dropped 150+ pips in the last 5 days, ignore bullish divergence signals; the trend is too strong and likely to continue.
- Enter only after candle close confirmation – Wait until the 1-hour or 4-hour candle fully closes showing rejection of lows; mid-candle divergence often disappears by close time.
- Use half position size on H1 charts – Faster timeframes produce more false signals; risk only 0.5-1% per trade instead of your usual 2% when trading hourly divergence setups.
- Avoid during major news releases – Don’t take divergence signals 30 minutes before or after NFP, central bank decisions, or GDP data; volatility invalidates technical setups.
Sell Entry
- Look for bearish divergence at resistance – Price makes higher high while MACD makes lower high near key resistance; enter when candle closes below the divergence high on 4-hour GBP/USD.
- Wait for 20-30 pip rejection – Let price drop at least 20-30 pips from the divergence peak before entering; this confirms sellers control and filters weak signals.
- Place stop 15-20 pips above swing high – Set your stop just above the divergence peak where price failed; gives breathing room while keeping risk controlled on EUR/USD trades.
- Target 1.5:1 minimum risk-reward – If risking 30 pips, aim for at least 45-pip profit; bearish divergence on daily charts often yields 80-120 pip moves.
- Ignore signals in ranging markets – If GBP/USD traded in a 50-pip range for 3+ days, skip divergence; it generates false signals when price oscillates without trend.
- Check RSI for confirmation – Strongest setups show MACD divergence plus RSI above 70 creating bearish divergence simultaneously; this doubles confirmation strength.
- Reduce size after 2 losing divergence trades – If your last two divergence signals stopped out, cut position size by 50% on the next signal; market conditions may not suit this strategy currently.
- Avoid divergence mid-trend without context – Don’t short EUR/USD bearish divergence if price is 30 pips from any major resistance or support level; context-free signals fail 70% of the time.
Putting It All Together
The MT5 MACD Divergence Indicator automates what used to require constant chart monitoring and sharp pattern recognition skills. It flags potential reversals by comparing price momentum against actual price movement, giving traders advance notice when trends might be topping or bottoming out. Works best when combined with support and resistance analysis, applied on clean trending moves, and filtered for high-quality setups at key levels.
Don’t expect magic. Expect a tool that, used correctly alongside proper context and risk management, helps you spot high-probability turning points. The indicator shows you where momentum and price disagree. What you do with that information—that’s still on you.
Recommended MT4/MT5 Broker
XM Broker
- Free $50 To Start Trading Instantly! (Withdraw-able Profit)
- Deposit Bonus up to $5,000
- Unlimited Loyalty Program
- Award Winning Forex Broker
- Additional Exclusive Bonuses Throughout The Year
- Exclusive 90% VIP Cash Rebates for all Trades!
Already an XM client but missing out on cashback? Open New Real Account and Enter this Partner Code: VIP90


