


Most trading platforms let traders manually drag stop loss and take profit lines across their charts. So what’s the advantage of an indicator that does this automatically?
The core difference lies in consistency. This indicator applies systematic logic to every trade. Instead of eyeballing where “that level looks good,” it uses measurable criteria—whether that’s a multiple of Average True Range (ATR), a percentage of account equity, or distance from key price levels.
The better versions of this tool consider current market conditions. On a choppy Monday morning in Asian session, the indicator might suggest wider stops than during a trending London session. It adapts to volatility, which manual placement rarely accounts for properly.
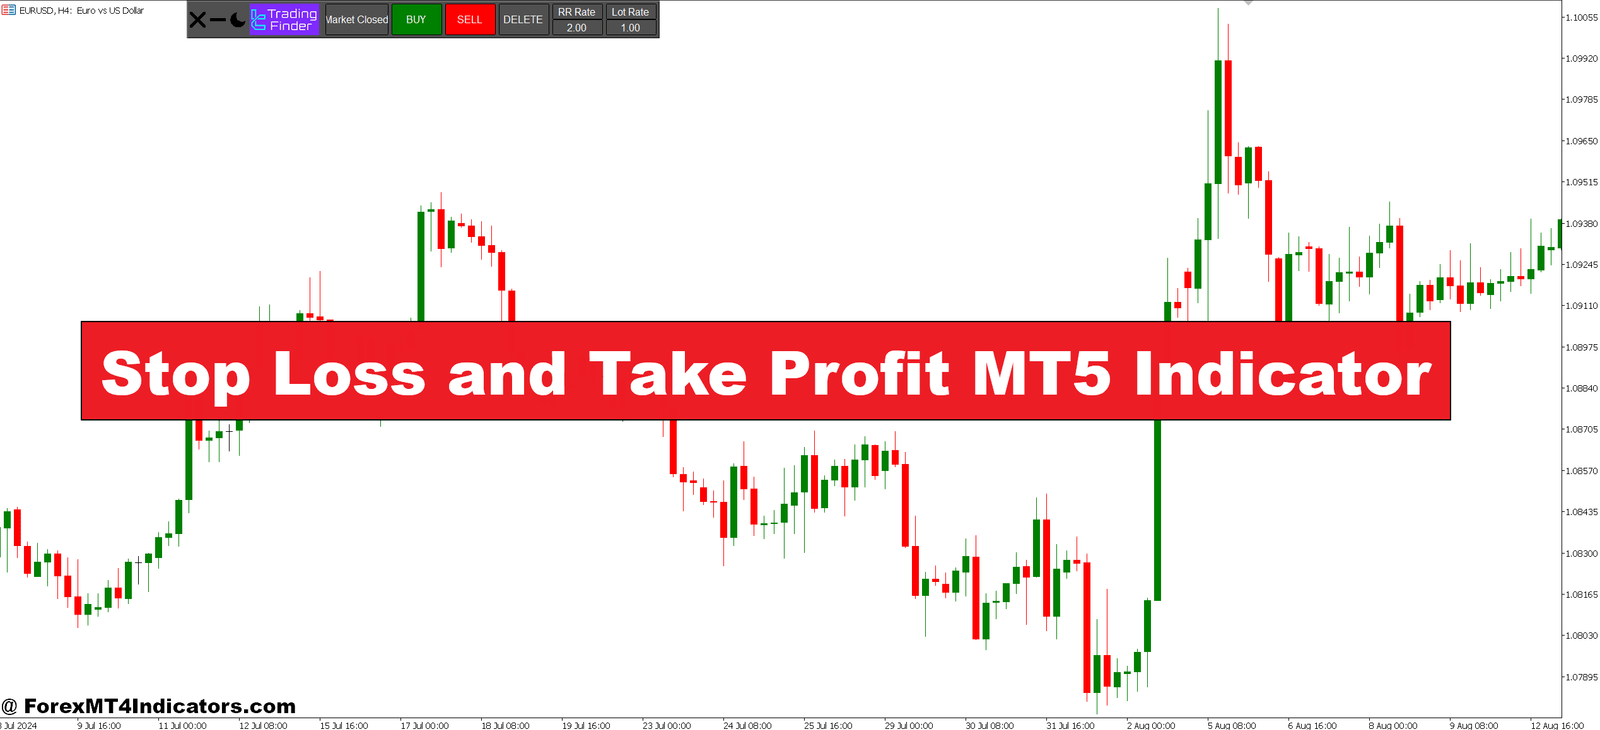
The Mechanics: How It Calculates Your Exit Points

Different stop loss and take profit indicators use varying calculation methods, but most fall into three categories.
The first approach uses ATR (Average True Range) as the foundation. If the 14-period ATR on GBP/USD reads 80 pips, the indicator might place your stop at 1.5x ATR (120 pips) below your entry. The take profit could sit at 2x or 3x the stop distance, giving you predefined risk-reward ratios like 1:2 or 1:3.
The second method employs percentage-based calculations tied to your entry price. Enter a long position on USD/JPY at 145.00, and the indicator might set a 1% stop at 143.55 and a 2% target at 147.90. Simple math, but it lacks market context.
The third category—and arguably the most sophisticated—identifies support and resistance zones. The indicator scans recent price action, spots the nearest significant level below your entry (support for longs), and positions your stop just beyond it. Take profit targets align with the next resistance overhead.
Setting Parameters for Different Trading Styles
Day traders and swing traders need different configurations. A scalper working 5-minute charts on EUR/JPY during Tokyo session doesn’t use the same settings as someone holding GBP/AUD for three days.
For quick scalps (holding 15-45 minutes), traders often use tighter multipliers. An ATR-based indicator might work best at 0.8x ATR for stops and 1.5x ATR for targets. The goal here isn’t massive winners—it’s consistent small gains that compound over dozens of trades.
Swing traders benefit from wider breathing room. They might configure the indicator to 2.5x ATR stops, allowing positions to survive normal market noise. Their take profit targets could extend to 5x or 6x ATR, capturing larger trend moves. On a weekly GBP/USD chart, this could mean stop losses 250 pips away with targets reaching 1,250 pips.
Here’s something most traders learn the hard way: different currency pairs need different settings. EUR/USD moves differently than GBP/JPY. The pound pairs whipsaw more, requiring wider stops. Asian pairs during London overlap show different volatility patterns than during their home session.
Real-World Application: A Case Study
Let’s walk through a specific example. A trader spots a bullish setup on AUD/USD, 4-hour timeframe, on February 15th. Price bounces off 0.6520, showing momentum. Without an indicator, she might randomly place stops at 0.6480 (40 pips down) and targets at 0.6600 (80 pips up).
But her stop loss and take profit indicator, configured with 1.5x ATR, reads the current volatility at 65 pips. It automatically suggests a stop at 0.6422 (98 pips below entry, accounting for recent price swings) and a take profit at 0.6716 (196 pips up, maintaining a 1:2 risk-reward).
In this scenario, the manual placement would’ve stopped her out during a typical intraday dip to 0.6485 that happened eight hours later. The indicator’s wider stop, based on actual volatility, kept her in the trade. AUD/USD eventually reached 0.6695—not quite hitting her 0.6716 target, but close enough to trail stops and bank serious profit.
That’s the practical edge. The indicator removes the arbitrary nature of exit placement.
The Honest Assessment: Strengths and Limitations
What this tool does well: It enforces discipline. When the indicator prints your exit levels on screen, you’re less likely to second-guess them mid-trade. It also maintains consistency across trades, which is critical for evaluating strategy performance over time.
The visual aspect matters too. Seeing your risk-reward ratio displayed before entering a trade filters out low-probability setups. If the indicator shows you’re risking 100 pips to make 80, you might reconsider that entry.
But here’s what it can’t do—it doesn’t guarantee winners. Markets move unpredictably. Stop losses get hit. That’s trading. Some indicators place stops too mechanically, ignoring nearby liquidity zones where market makers love to sweep stops before reversing.
There’s also the false security trap. New traders sometimes think having an indicator calculate their exits means they don’t need to understand risk management principles. Wrong. You still need to grasp why position sizing matters, how correlation affects portfolio risk, and when market conditions warrant sitting out entirely.
How It Stacks Up Against Traditional Methods

Comparing this to manual stop placement isn’t quite fair—they serve different purposes. Manual placement works great when you’re trading off specific price levels and want precision. The indicator shines when you need consistency across multiple trades or struggle with emotional exit decisions.
Versus fixed pip stops (always use 30 pips, regardless of pair or conditions), the indicator wins easily. Fixed stops ignore reality. They might work on EUR/USD but destroy your account on GBP/NZD where 30 pips is just noise.
Some traders combine approaches. They let the indicator suggest levels, then adjust manually based on nearby support/resistance. That’s not cheating—it’s intelligent application of tools.
Final Thoughts on Automated Exit Planning
The stop loss and take profit indicator solves a specific problem: it removes emotion and inconsistency from trade management decisions. Traders get objective, volatility-adjusted exit levels instead of stress-fueled guesses. The tool works best when configured for your specific trading style and market conditions, not left on default settings.
That said, no indicator replaces sound judgment. Markets fake out, news events blow through stops, and correlation can wreck perfectly placed exits across multiple pairs. Use this as one component of comprehensive risk management—alongside proper position sizing, correlation monitoring, and realistic win-rate expectations.
Trading forex carries substantial risk. No indicator guarantees profits, and automated exit levels don’t eliminate the possibility of losses. Test any new tool on demo accounts first, and never risk more than you can afford to lose.
The real value here? It builds a framework. Once you stop debating exit placement on every trade, you free mental energy for analysis, market reading, and strategic thinking. And in a game where psychological discipline often matters more than technical skill, that’s worth considering.
Recommended MT4/MT5 Broker
XM Broker
- Free $50 To Start Trading Instantly! (Withdraw-able Profit)
- Deposit Bonus up to $5,000
- Unlimited Loyalty Program
- Award Winning Forex Broker
- Additional Exclusive Bonuses Throughout The Year
- Exclusive 90% VIP Cash Rebates for all Trades!


Already an XM client but missing out on cashback? Open New Real Account and Enter this Partner Code: VIP90


